使用Hexo搭建个人博客

一. 新建 github 仓库

Repository name

1
$ username.github.io

Description

1
$ 使用hexo搭建的个人博客
Initialize this repository with a README
1
$ check

二. Hexo

安装

1
2
3
$ npm install hexo-cli -g

$ hexo -v

初始话项目

1
2
3
4
5
$ hexo init myHexoBlog

$ cd myHexoBlog

$ git clone https://github.com/iissnan/hexo-theme-next.git themes/next // 下载 next 主题

More info: github

命令

1
2
3
4
5
6
7
$ hexo s/server // 启动服务

$ hexo g/generate // 生成静态文件

$ hexo d/deploy // 部署、上传至 git;不使用,存在bug

$ hexo clean // 清理缓存

配置 github SSH

1
2
3
$ cd ~/.ssh

$ vi id_rsa.pub // 复制公钥到 guthub SSH keys

上传文件至 github

1
2
3
4
5
6
7
$ cd public  // 所有生成的静态文件

$ git remote add origin https://github.com/Wenj2/Wenj2.github.io.git // 添加远程仓库地址

$ git pull origin master --allow-unrelated-histories // 强制合并

$ git push origin master

三. Hexo 相关配置

配置 根目录 _config.yml
1
2
3
$ theme: next  // 配置主题

$ language: zh-Hans // 设置语言

四. next 主题配置

配置 themes/next/_.config.yml

1
2
3
4
5
6
$ footer: 
copyright: ❤ Power by - Jesse // 配置页面底部内容

$ menu // 配置导航菜单

$ scheme: Pisces // 选择 next 下的主题

解决 tags 和 categories 404 问题

1
2
3
4
5
6
7
8
9
10
# tags
$ hexo new page tags
# source/tags/index.md
$ type: tags
# 一定要添加 comments: false,否则页面空白
$ comments: false

# categories
$ hexo new page categories
$ type: categories

配置 themes/next/languages/zh-Hans.yml

五. 图片相关

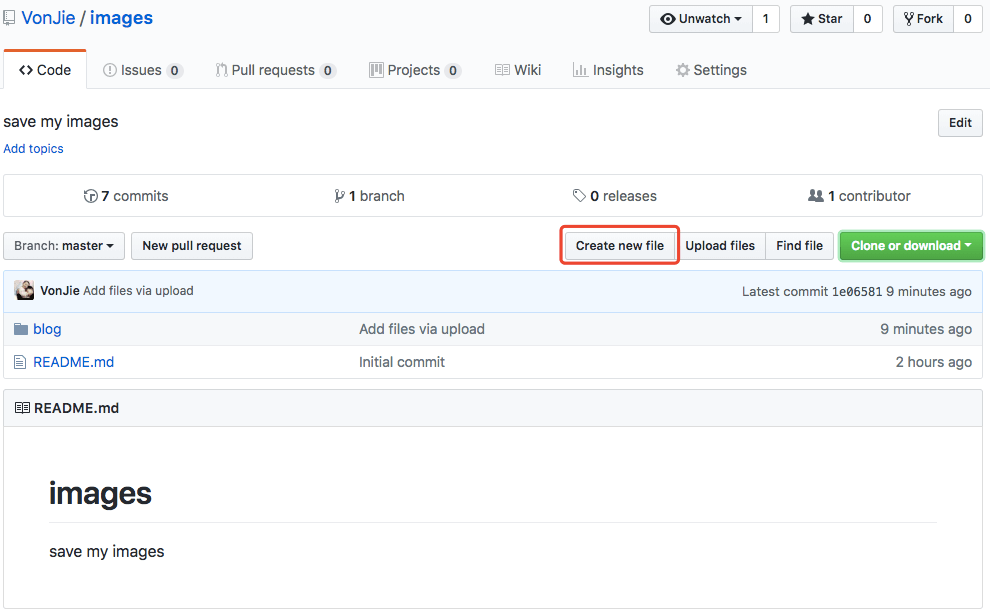
新建 images 仓库

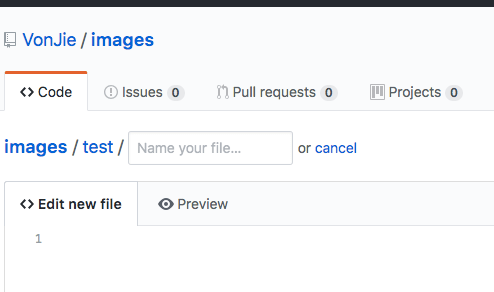
  • 新建分类路径
    image
  • 在文件后带 ‘ / ‘ ,会自动生成路径
    image
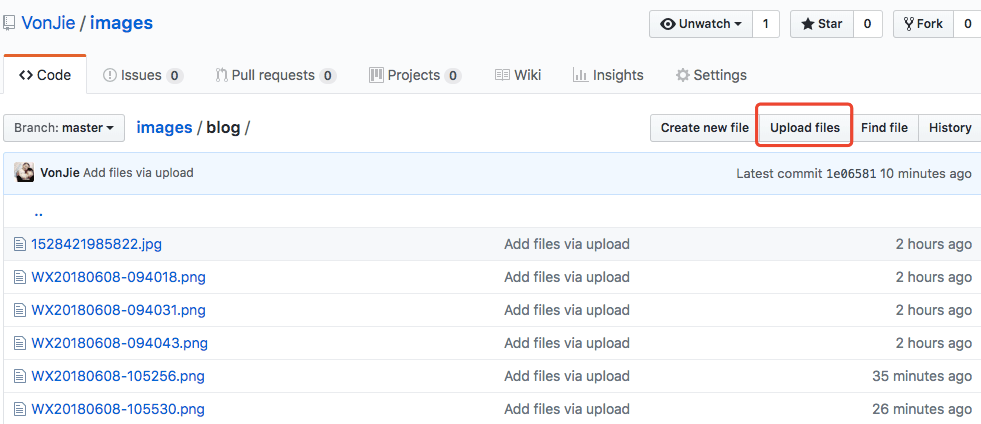
  • 上传文件
    image
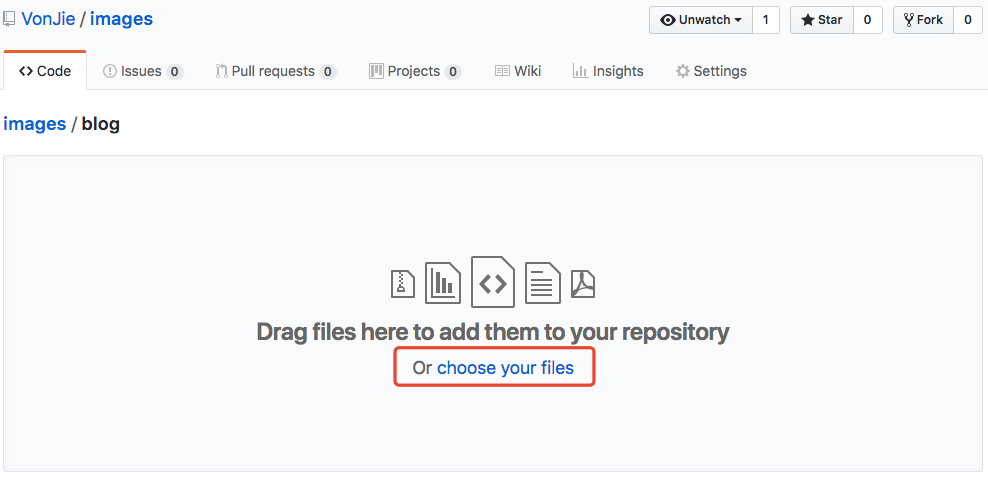
  • 选择文件
    image
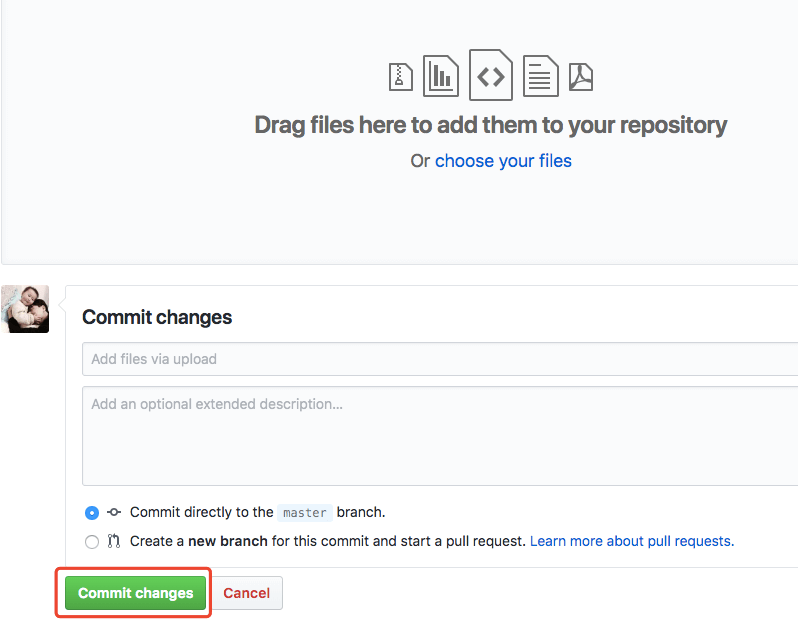
  • 提交修改
    image